Most people photograph their wall art once, hate how it came out, and never try again. The colors look faded, there's a white blob of glare across the glass, or the whole thing is tilted in a way that makes the room look like it's sliding. None of that is your fault - it's just a few small things that compound fast when you're shooting indoors with a phone.
Here's what actually works.
The glare problem (and why moving the lamp isn't enough)
Glass-fronted frames are the main offender. Light hits the surface and bounces straight into your lens, blowing out a chunk of the image. Most people try to fix this by moving a lamp, which helps a little, but the real fix is changing the angle you're shooting from rather than chasing every light source around the room.
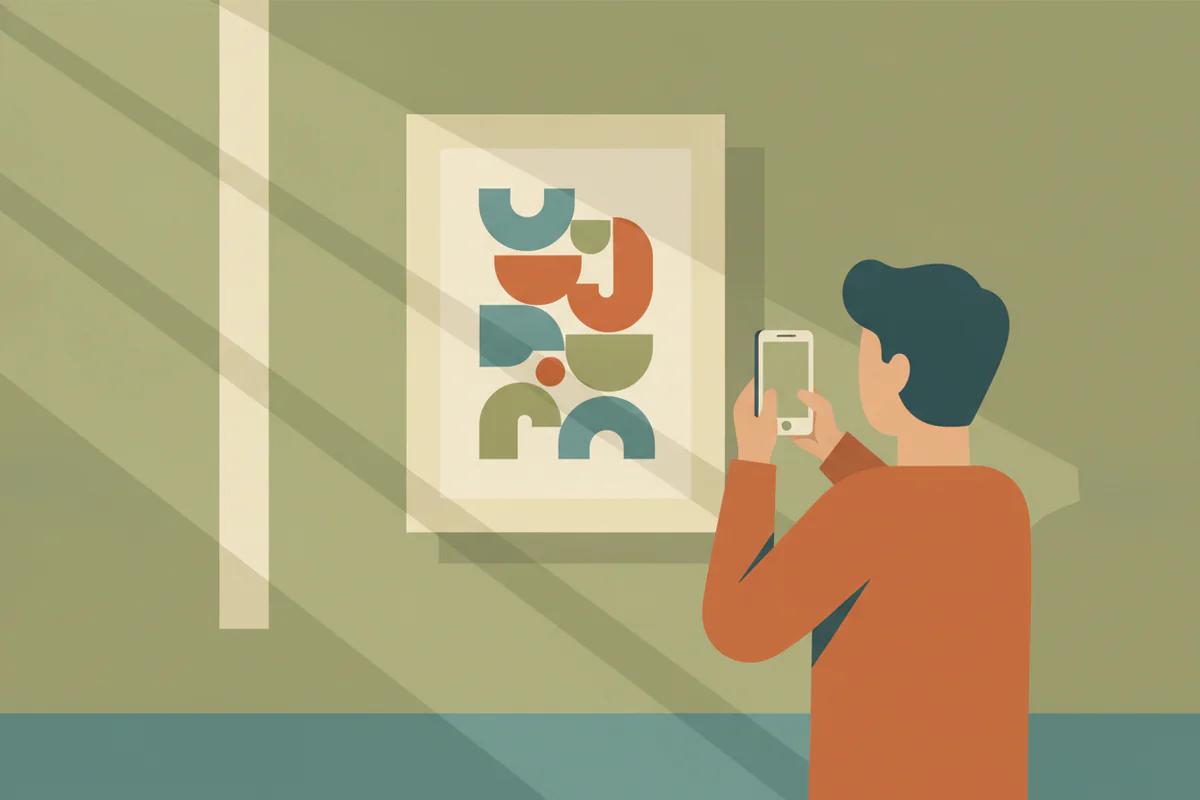
Stand slightly to one side - maybe 10 to 15 degrees off-center - instead of directly in front of the piece. Your camera will still read the art as straight-on (you'll correct for that in a moment), but you're no longer the perfect mirror for whatever light is behind you. Even a small shift breaks the reflection angle. If you're still getting a hotspot, tilt the top of your phone very slightly away from the wall. A degree or two is genuinely enough.
Natural daylight from a window to the side of the frame is your best friend here. Overcast days are better than sunny ones - direct sun creates harsh contrast and makes any glare worse. If you're shooting at night under ceiling lights, try turning on every light in the room and lowering your phone's exposure manually (tap the screen to focus, then slide the sun icon down). Dimmer rooms with ambient fill tend to produce less specular glare than a single bright overhead light.
Getting the color right
Phones auto-adjust white balance to compensate for warm or cool light, and that adjustment is almost always wrong for wall art. A warm incandescent room will make your print look yellow. A cool LED strip makes it look blue-grey. The art's actual colors - whatever the designer intended - get lost in the process.
The simplest fix: shoot near a window during the day with the interior lights off. Daylight is close enough to neutral that your phone's auto white balance does a much better job. If you have to shoot at night, shoot in your phone's "Pro" or manual mode and lock the white balance to a fixed Kelvin value (around 4000-4500K works for most home interiors).
Afterward, the single most useful editing move is to bring saturation down very slightly and sharpness up slightly. Phone cameras over-saturate and sometimes soften fine detail. Overcorrecting both of those by small amounts brings printed colors back toward accurate. Lightroom Mobile does this well, and it's free - the "Color Mix" panel lets you pull individual hues back if, say, the reds are going orange or the blues are going purple.
Composition: the room matters as much as the art
A photo of just the frame, centered, with nothing else visible, rarely performs well on Instagram. It looks like a product shot, not a home. The art means more when you can see it in context - a bit of the wall, the shelf below it, the lamp to the side.
Pull back further than feels right. You can always crop in later; you can't add space you didn't capture. Give the frame some breathing room and let the surrounding scene explain why this piece works in the room it's in.
For composition specifically, the rule of thirds is genuinely useful here - put the frame in one third of the image, and let the room fill the other two. Or shoot from lower than you'd expect, angled slightly upward, which makes the wall feel larger and the art more commanding. Straight-on shots are flat; a subtle low angle adds dimension without looking like an architectural photo.
One thing worth thinking about: what's immediately around the frame? A beautiful print above a cluttered console table is still a cluttered photo. Spend two minutes clearing the foreground before you pick up your phone. You don't have to style the whole room - just what the camera can see.
The straightening step people always skip
Even if the frame is perfectly level on the wall, phones distort perspective when you're not holding them exactly parallel to the surface. The result is a frame that looks trapezoid-shaped - wider at the bottom or top - and walls that seem to lean. It's subtle but noticeable, and it reads as "amateur" even if everything else is right.
Fix it in post. Instagram's built-in editor has a "Perspective" adjustment. VSCO and Snapseed both have "Transform" tools. You're looking for the vertical perspective slider specifically - drag it until the vertical edges of the frame are parallel. You'll lose a little of the image to cropping as the tool corrects, which is another reason to shoot wider than you think you need.
A few quick settings to check before you shoot
- Turn off HDR if you can. HDR processing often blows out bright areas of a frame or muddles fine detail in the art.
- Lock focus and exposure by holding your finger on the art itself, not the wall around it.
- Shoot in the highest resolution your phone offers. Cropping later kills resolution fast.
- On iPhones, shooting in ProRAW gives you far more room to fix white balance and exposure in editing without the image falling apart.
And honestly, take at least ten shots per setup. Lighting, angle, focus - one of them will be sharper than the others, and you won't know which until you look at them on a bigger screen.
What this changes for the art itself
All of this assumes the print looks good in real life first. If the colors are off, or the paper looks cheap in person, no amount of editing will fix the photo. Canvas prints with a wood frame photograph particularly well because there's no glass to create glare in the first place - the texture of the canvas also catches light in a way that reads as depth rather than flat.
Unframed posters are harder to shoot well because they often have a slight curl or buckle that catches shadows unevenly. A frame, or at minimum mounting flush to the wall, makes a real difference in how the final photo reads.
Getting this right is worth the effort. Instagram's algorithm rewards saves and shares, and a genuinely useful, beautiful home photo gets both. The difference between a photo that looks like a snapshot and one that makes people stop scrolling is usually just the angle and the light - not the phone, not a ring light, not a photography degree.